Wedding Photography Portfolio Site   |   View our All New Photography Blog  |   Contact Us                                                                                   

Monday, November 17, 2008

Abandoned Bus

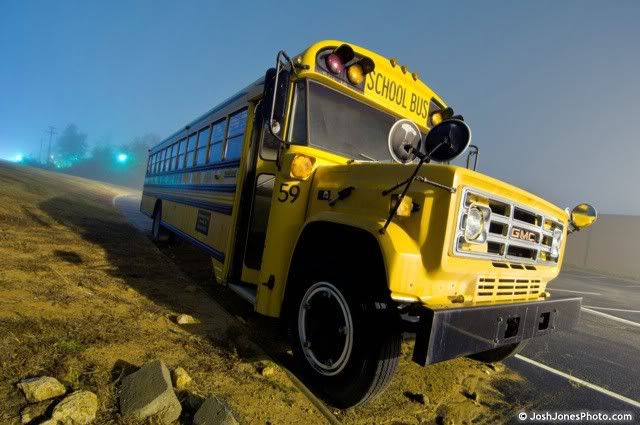
So I had a pretty frightening experience the other night. When I was out taking pictures in dense fog I came across an abandoned bus. I don't know how long it was sitting there but it was pretty creepy.

Photobucket - Video and Image Hosting

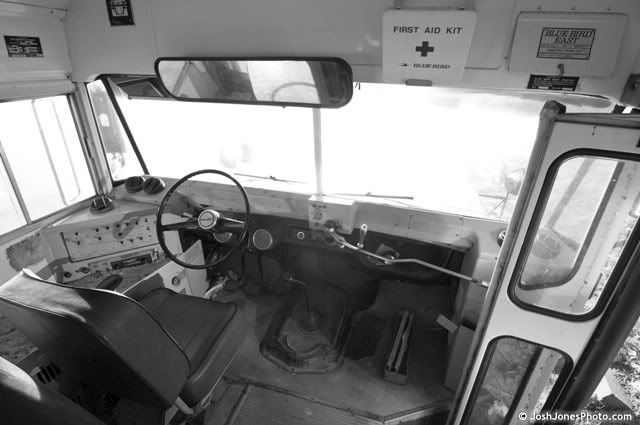
I walked up to it to see if it was open, and sure enough it was.

Photobucket - Video and Image Hosting

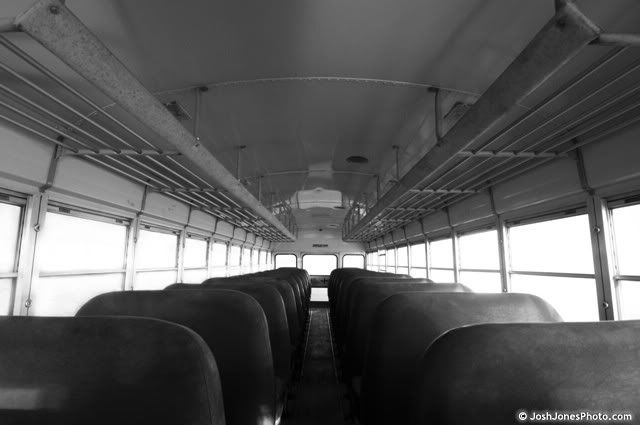
I started to head back to the end of the bus to see if anything interesting was back there...

Photobucket - Video and Image Hosting

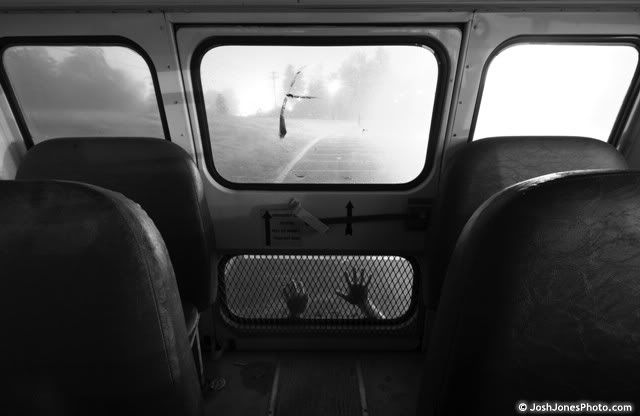
And suddenly I saw someone trying to get up from under the bus...


Photobucket - Video and Image Hosting

Needless to say after seeing this I decided to call it a night.

Here's your tip for the day: When taking pictures in abandoned school buses watch out for zombies.

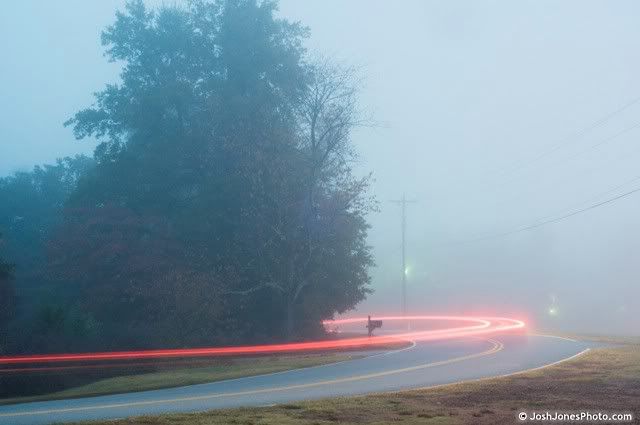
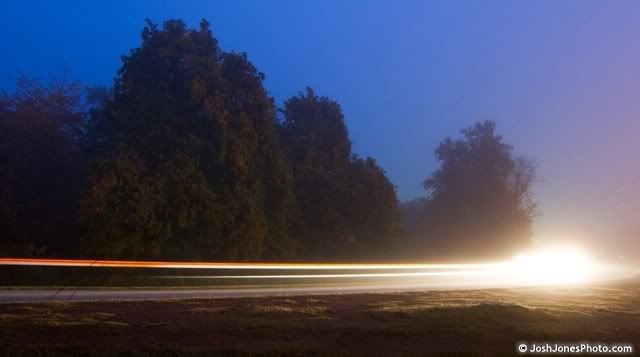
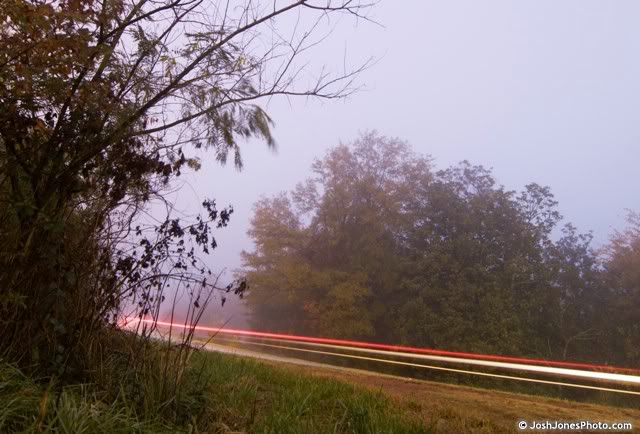
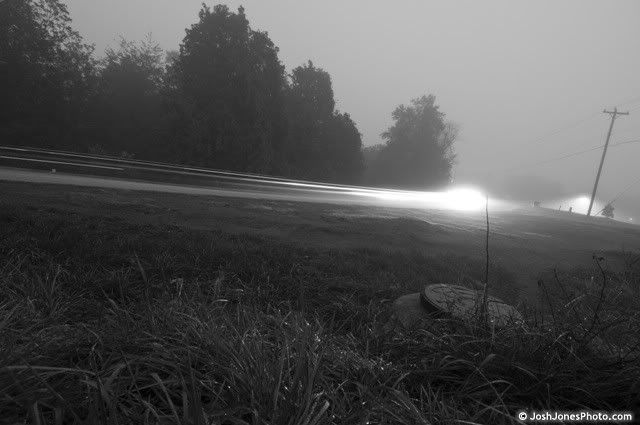
Driving into the fog

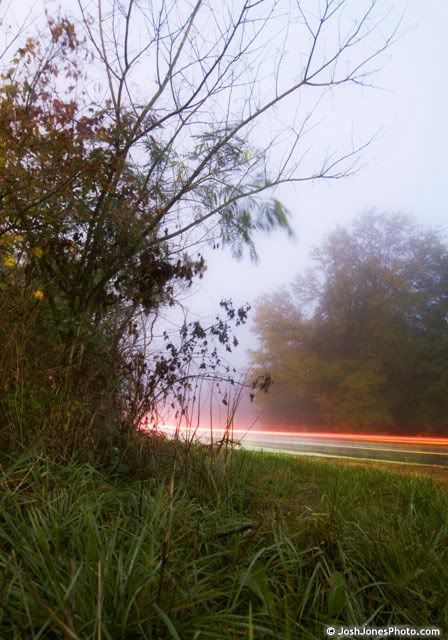
Sorry for the lack of posts lately, but I've been having a bit of car trouble. I'm ok but my car definitely isn't. Anyways, it was a really foggy night on Friday and I got a chance to get some pretty cool light trail pictures. Here are a few of my favorites!


Night Light Trails - Josh Jones Photo


Night Light Trails - Josh Jones Photo


Night Light Trails - Josh Jones Photo


Night Light Trails - Josh Jones Photo


Night Light Trails - Josh Jones Photo


Saturday, November 15, 2008

After the rain

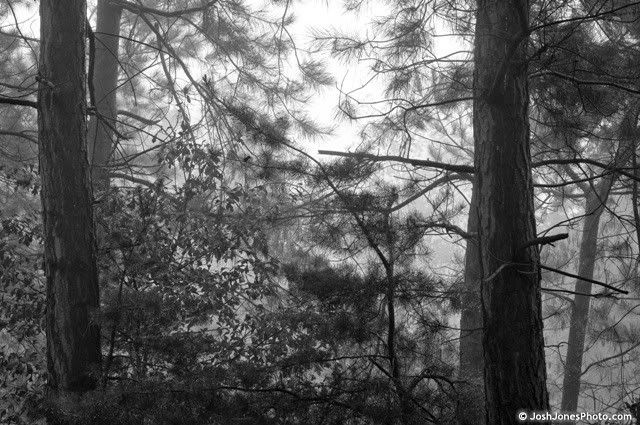
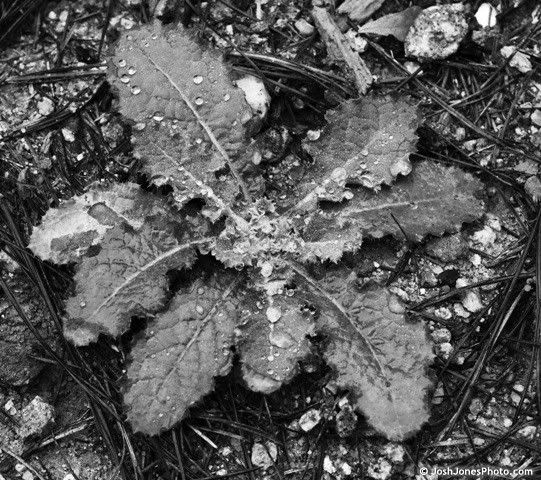
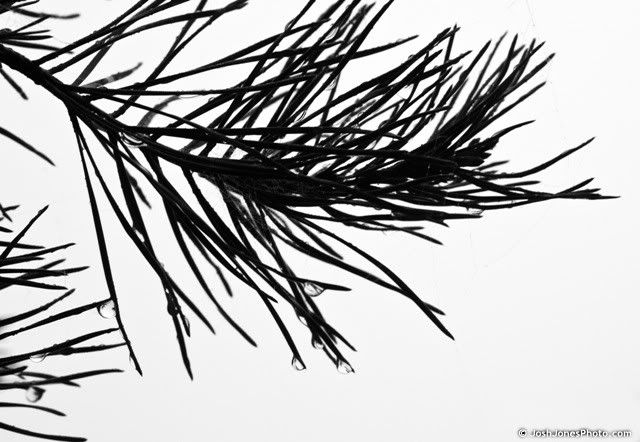
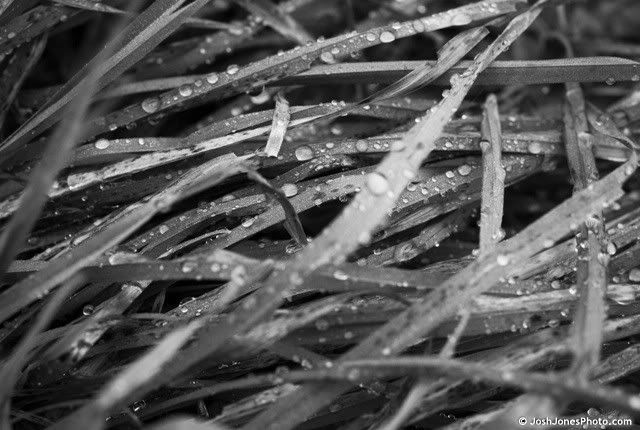
I love going out shooting after a good rain storm. The water droplets and unique tones are fantastic to capture. The mist in the air creates a lot of atmosphere.  Yesterday was the perfect opportunity for this! I've been shooting a lot of color lately because of all the awesome fall colors, so this was a great chance to get back into black and white. Here are a few of my favorite shots! Lots more coming soon!


Shooting in the rain - Josh Jones Photo


Shooting in the rain - Josh Jones Photo


Shooting in the rain - Josh Jones Photo


Shooting in the rain - Josh Jones Photo


Thursday, November 13, 2008

Animals, fall leaves, and an abandoned car

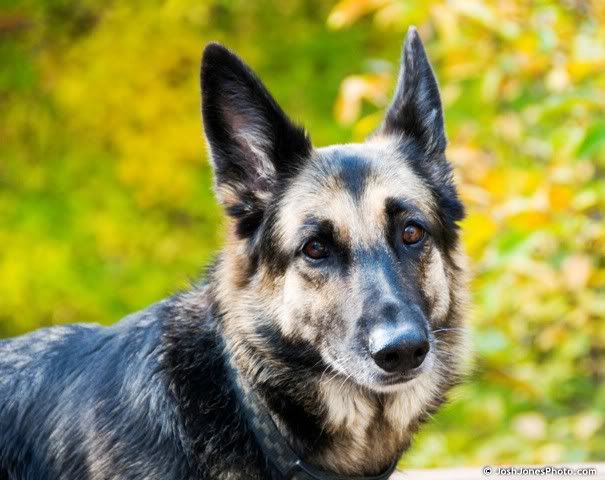
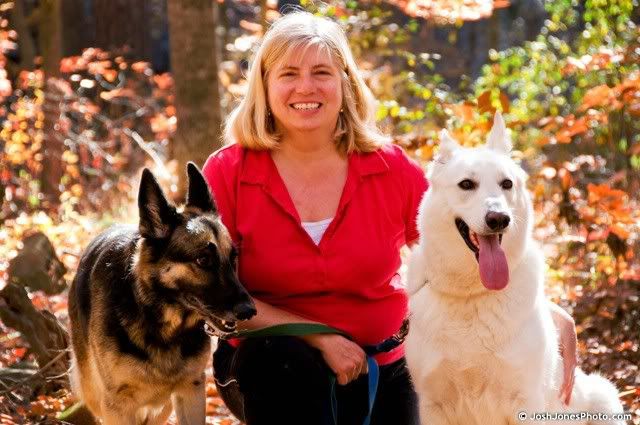
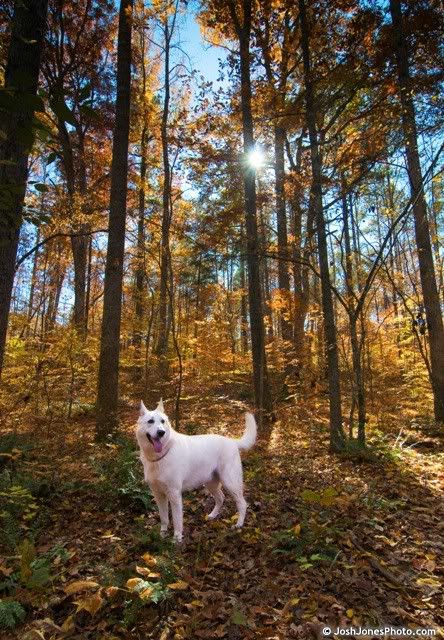
This past weekend I got a chance to spend the weekend with my Aunt in Chapel Hill, NC, just outside of Raleigh/Durham. Aside from eating some great food and shooting Stef & Ryan's engagement pictures, I got a chance to play with her house full of animals. They all had very unique personalities. Cas, the big white dog, is a cry baby and is scared of everything. Roxy, the other dog, is smart and well behaved for the most part. Then the poor cat is always irritated, constantly trapped outside when it wants to be inside. The dogs love to constantly harass it. I once saw Cas pick up the entire cat by its head. Poor kitty. Anyways, here are some of my favorite pictures from the weekend:

Photobucket - Video and Image Hosting
Roxy


Photobucket - Video and Image Hosting
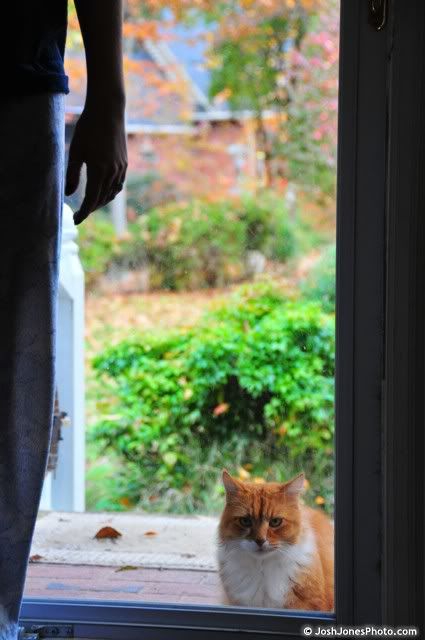
The world's most irritated cat

Photobucket - Video and Image Hosting
Let me in!


Photobucket - Video and Image Hosting
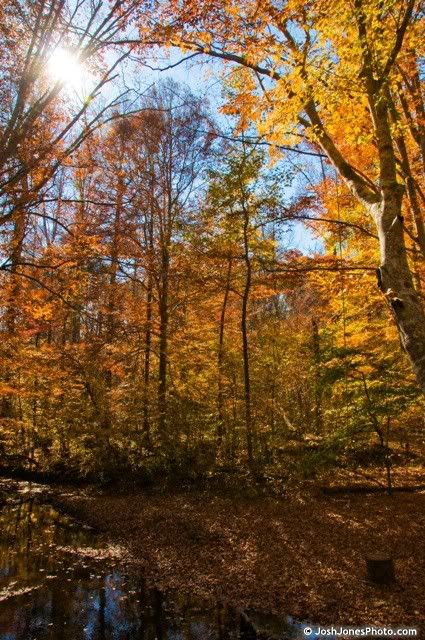
Fall colors in the backyard


Photobucket - Video and Image Hosting
My aunt and her dogs

Photobucket - Video and Image Hosting
The creek that runs through the backyard


Photobucket - Video and Image Hosting
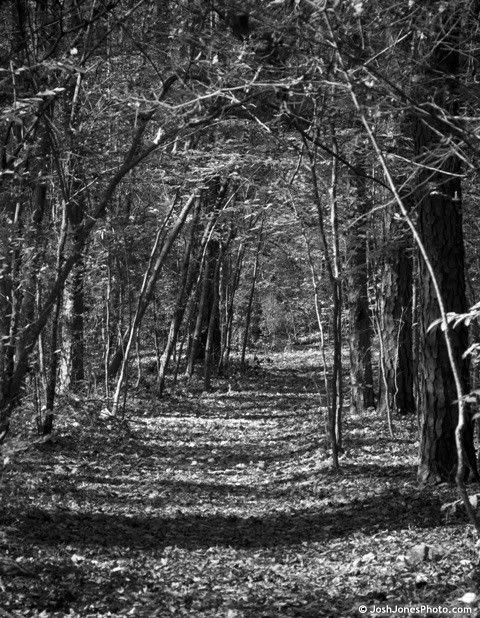
Part of the trail that runs beside the creek

Photobucket - Video and Image Hosting
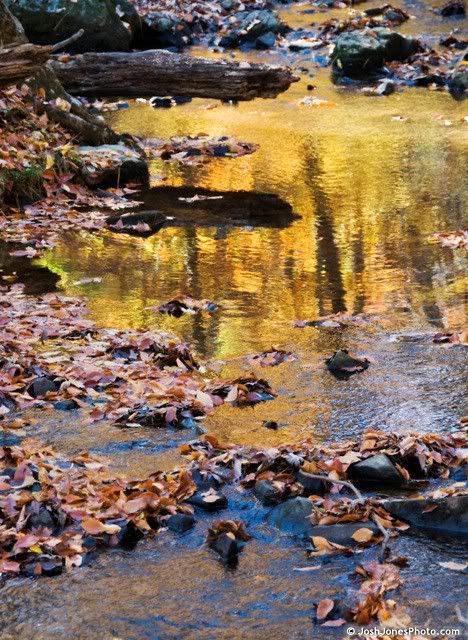
Fall colors reflected in the creek

Photobucket - Video and Image Hosting
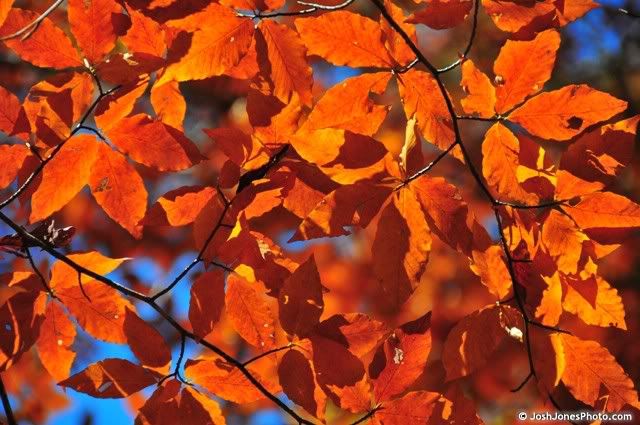
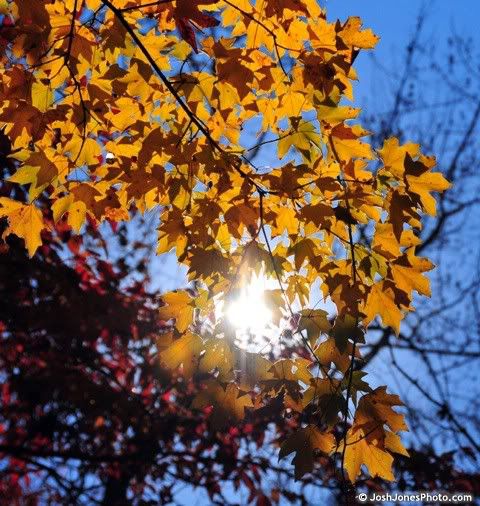
Sun Shining through the fall leaves

Photobucket - Video and Image Hosting
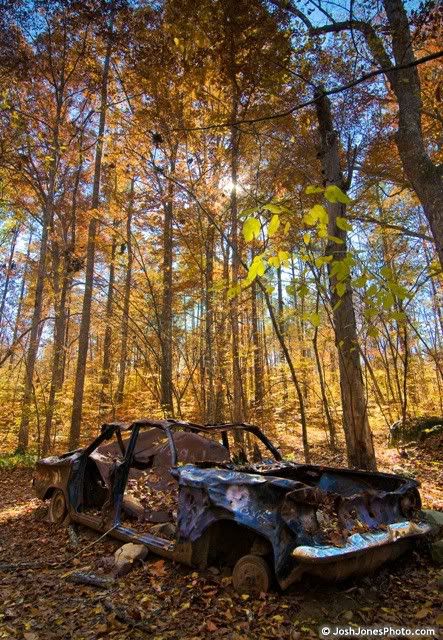
An abandoned car along the trail

Photobucket - Video and Image Hosting
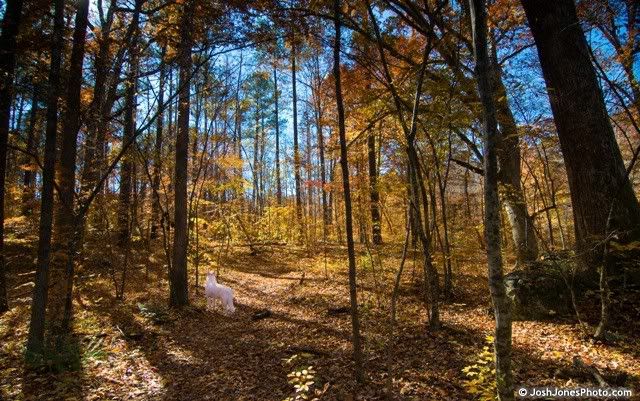
Cas exploring the woods

Photobucket - Video and Image Hosting
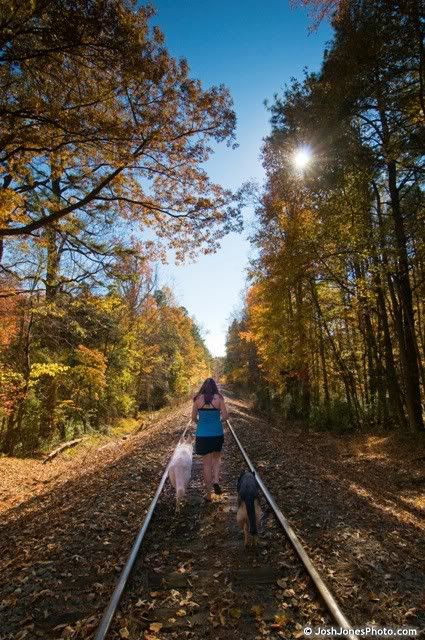
My cousin walking the dogs down the train tracks

Photobucket - Video and Image Hosting
Cas enjoying the walk

Showing up

Half of getting a great picture is having your camera with you. I've noticed that whenever I don't have my camera with me, I always see all the spectacular sunsets, unique lighting opportunities, and newsworthy subjects. I've tried to combat this by keeping my camera with me as much as possible. I recommend that you always keep at least a small camera in your car or in your purse (that's what purses are made for!). This way when Jesus comes back you will be ready with your camera in hand, ready to have pictures to publish in "Heaven Weekly."

Take the picture below for instance. I was out the other night taking pictures of an abandoned building and I turned around just at the second that this car drove by. Had I not had my camera handy I would have missed the car and the sunset would have been over before another one drove by. Sometimes great pictures can be recreated but many times you only have one chance. Next time you go for a walk, bring your camera along, you just might see something unique.


Night Automotive Photography - Josh Jones


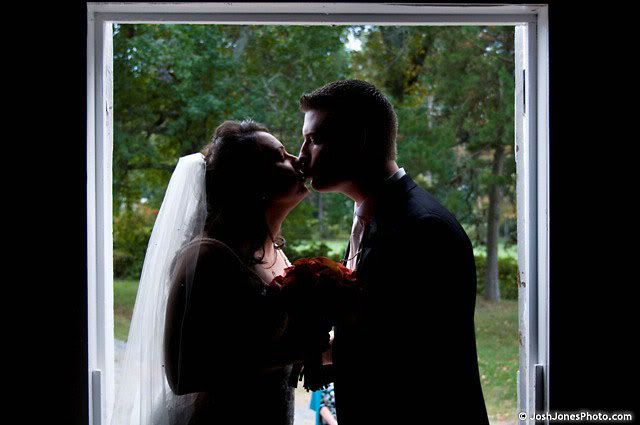
This is also crucially important when taking pictures of people. Having your camera on ready to go before anyone knows a picture is going to be taken is very important. I wouldn't have caught the picture below if I was waiting around for the bride and groom to pose before I pulled out my camera. Because I had my camera on ready to go I caught the bride and groom just at the moment they kissed. A lot of people also put up lame, fake smiles when they know a picture is going to be taken. If they don't know the picture is going to be taken, and you have your camera ready, you can catch them with a real, genuine smile. The bottom line is: when your around people, don't just have your camera with you, but have it ready go, you never know when you will miss that special moment.


Greenville Wedding Photography - Josh Jones

I hate istockphoto

A bit of a rant today, so bear with me. After many people telling me that I should join an stock photography site I decided to give it a try. If your not familiar with stock photography sites, they basically exist to provide companies and websites with a central place to get professional quality images. They sell the royalty-free images and split the profits with the photographer.

Anyways, I joined istockphoto a few weeks ago hoping to try this out. I filled out the application, took the short online course, passed the quiz at the end, uploaded documentation, and read the super long user agreement. After all of this you have to upload 3 sample images for them to go over. I uploaded three decent shots (not my best stuff) just to see how picky they are. I've heard of sites like this being picky about sharpness, noise, and composition, even while zoomed in to 200%. I ensured these pictures were sharp, had no visible logos, were very low noise, and would be relevant to businesses looking to buy these images. I received word back many days later that the pictures were rejected because they "did not feel the overall composition of your photography or subject matter is at the minimum level of standard for iStockphoto. Please take some time to review training materials, resources and articles provided through iStockphoto. The photographs provided in your application should be your best work. Try and impress us, we want to see how you stand out from the crowd."

Ok, that's understandable. I read the training materials and articles (which were actually pretty well written!), and submitted some of my best work, including some that have been published in national calendars and books. I hear back just a few hours later that they were rejected for the same reason. Ok, now I was getting a little upset. These pictures were totally different in composition from the first ones and were also very sharp, and low noise. How could they have rejected them for the same reason? I know they have been useful to businesses in the past because they have been used as advertisements before. I also checked istockphoto to make sure there wasn't a totally identical photo already submited; nope there wasn't. I just didn't understand why they were getting rejected. So I waited a week and decided to try one last time to submit some photos. This time I even picked some of my best people images to submit (stock photo sites love people pictures because most advertizements are aimed at them). Got rejected, same cookie-cutter reason.

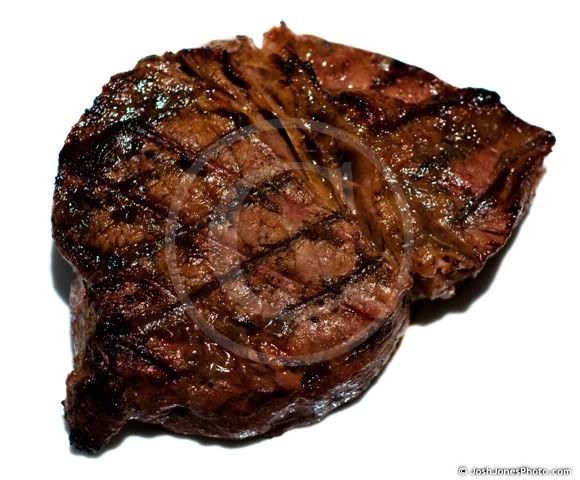
I don't mind being rejected, criticized, or laught a lesson. As long as you give me a good reason, or way to get better in the future, I don't have a problem with it. It's how I get better! iStockPhoto didn't give any of this. They simply gave me the same cookie cutter answer every time I submitted sample photos, even though they were all drastically different every time. I just don't get it! How can they accept a picture like this or this! and then reject my stock steak!

Maybe I'm blind but I would love for someone to tell me how a picture of a tree branch in front of a bland looking lake is going to help a business more than a nice sharp picture of a juicy sirloin! Oh well, maybe the istockphoto editors woke up with a stick up their arse that morning. I know I'm far from being the best photographer in the world, but I do like to think that I'm relatively decent at it after 5 years and almost 100,000 frames. Regardless their failure to communicate their issues with my pictures has lost me as a potential customer.

Top Sirloin Steak - Photo By Josh Jones
How could you say no!


I was never really a huge fan of stock photography in the first place. It emphasizes a lot of what doesn't matter in photography. Does it really matter if your image is ultra sharp when blown up to 200%? Does it matter if it has no semblance of noise or grain? I guarantee if you you printed an image at anything less than billboard size these things wouldn't even be visible. Sometimes the best images aren't perfectly sharp, and some of them even have grain in them! Even some of Ansel Adam's pictures have this "unacceptable" grain in them, and, according to their composition articles, would not meet the "minimum level of standard for iStockphoto."

Wednesday, November 12, 2008

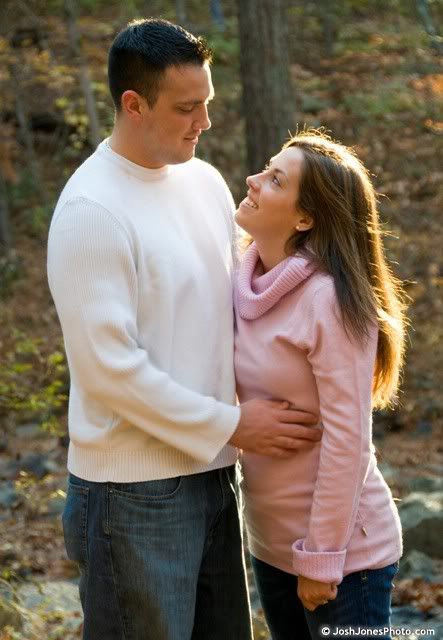
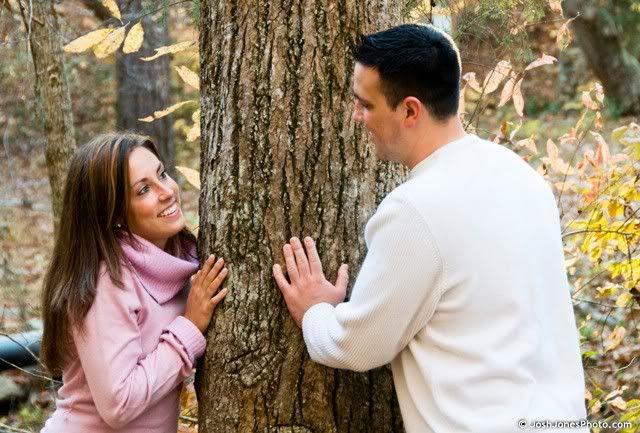
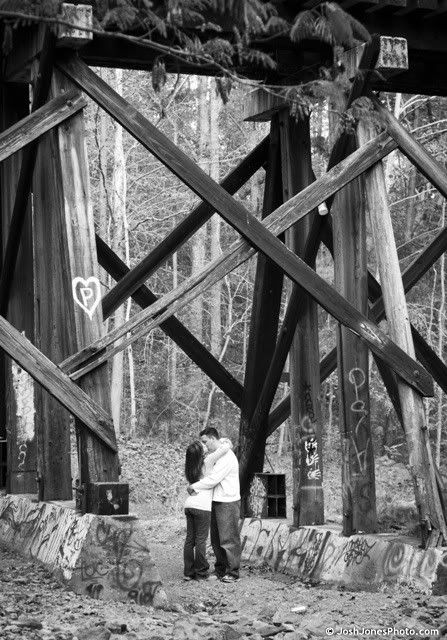
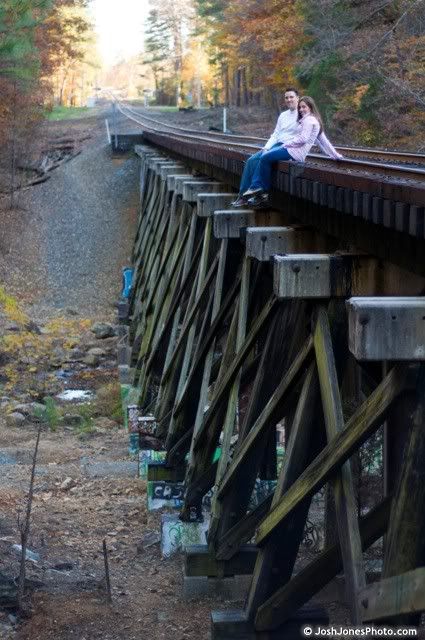
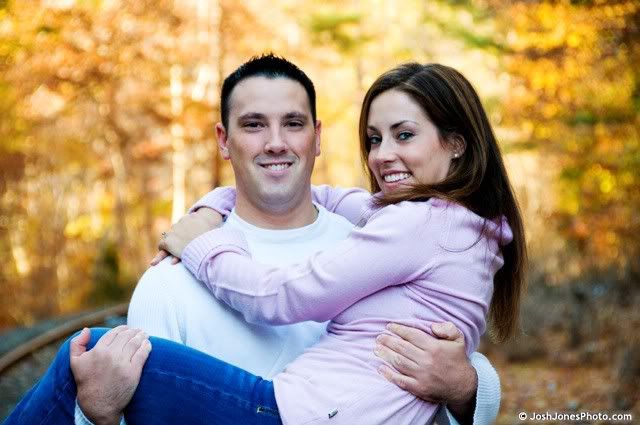
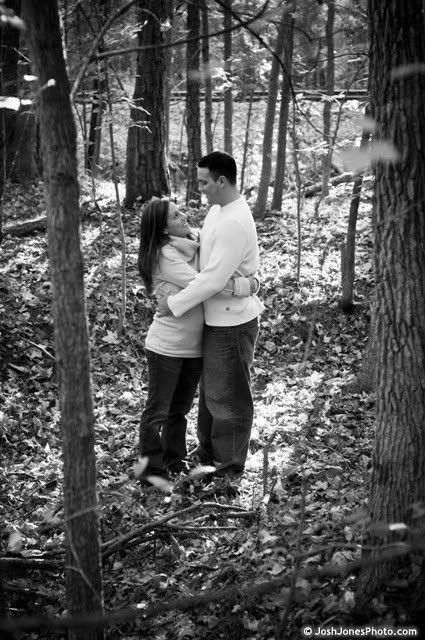
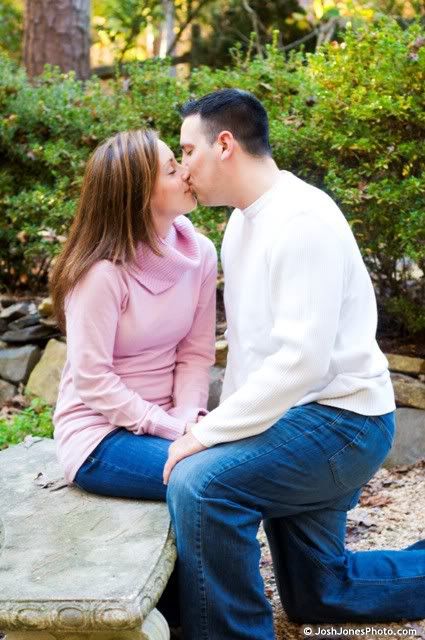
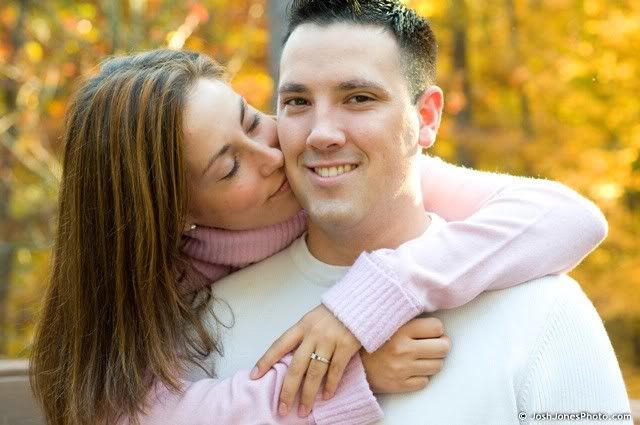
Stef and Ryan are getting married!

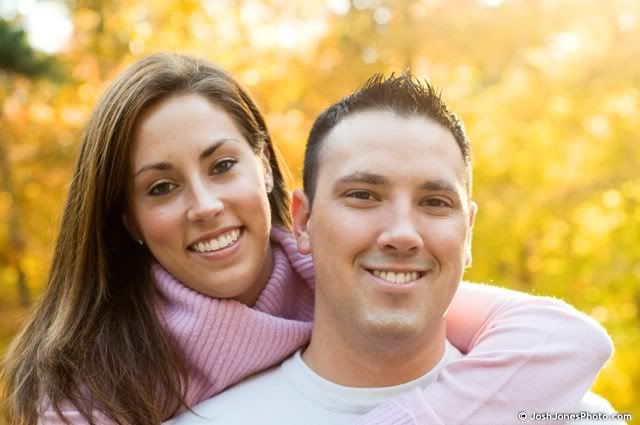
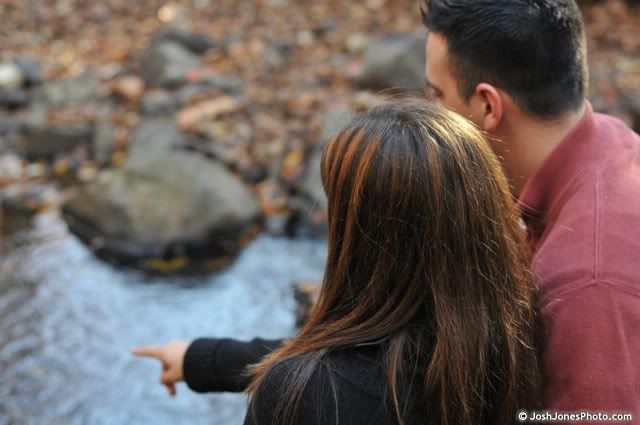
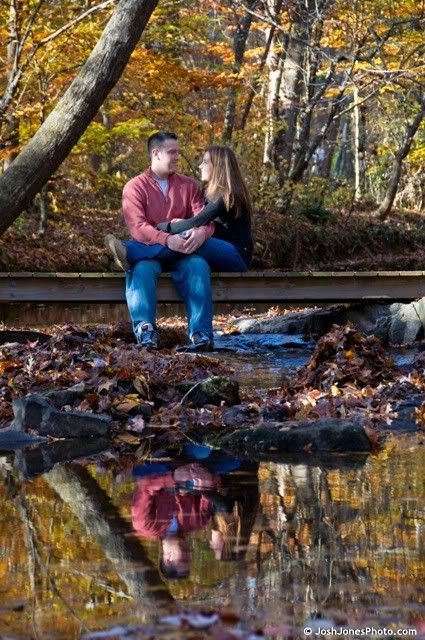
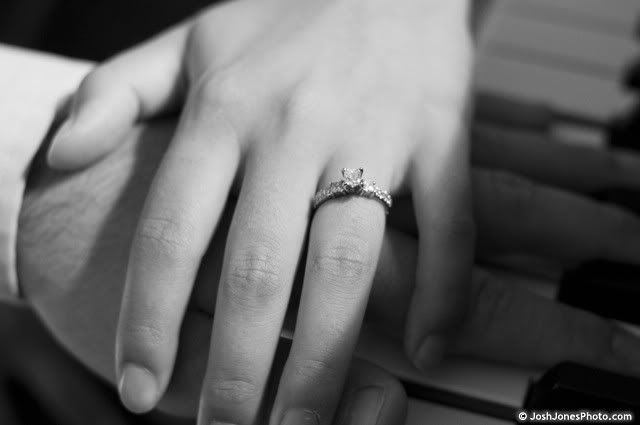
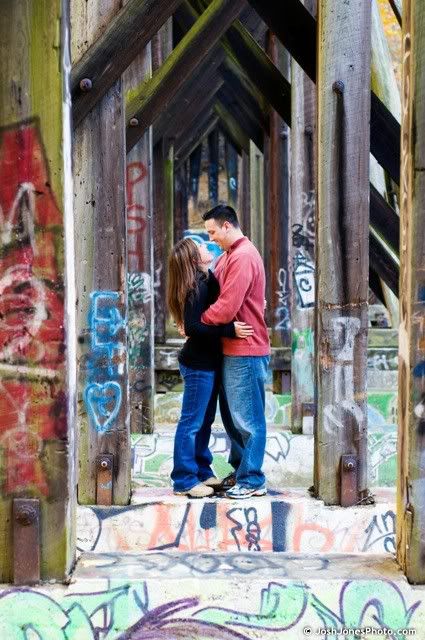
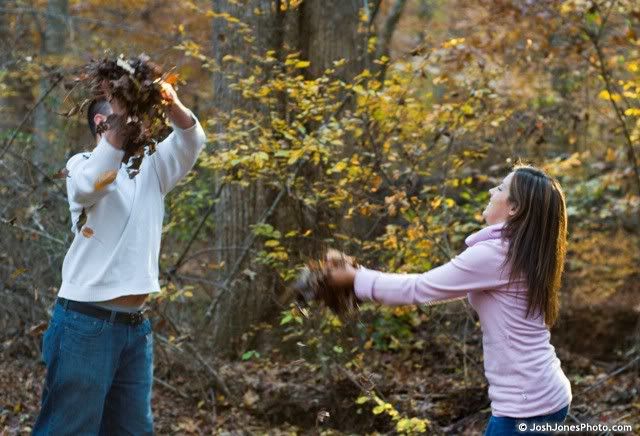
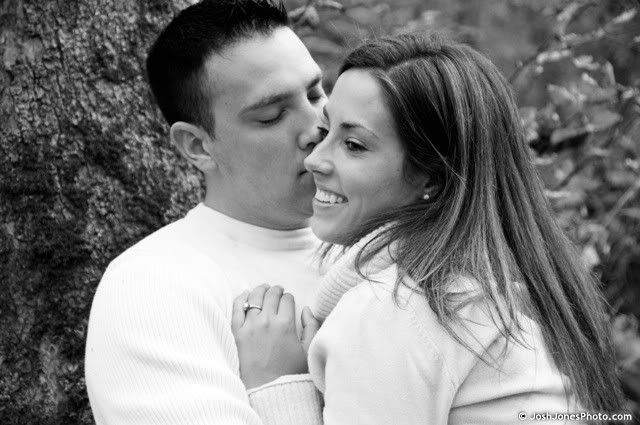
This past weekend I had the awesome chance to photograph some of my friends. Stef and Ryan needed some engagement pictures done and I knew I wouldn't be able to attend their wedding so I decided to do it as my gift to them. It was the perfect day for pictures. Beautiful weather with fall colors at their peak. A big thanks goes out to my aunt who let me use her beautiful backyard for these pictures. Here are a few of my favorites!


Engagement Pictures - Photo by Josh Jones


Engagement Pictures - Photo by Josh Jones


Engagement Pictures - Photo by Josh Jones


Engagement Pictures - Photo by Josh Jones


Engagement Pictures - Photo by Josh Jones


Engagement Pictures - Photo by Josh Jones


Engagement Pictures - Photo by Josh Jones


Engagement Pictures - Photo by Josh Jones


Engagement Pictures - Photo by Josh Jones


Engagement Pictures - Photo by Josh Jones


Engagement Pictures - Photo by Josh Jones


Engagement Pictures - Photo by Josh Jones


Engagement Pictures - Photo by Josh Jones


Engagement Pictures - Photo by Josh Jones


Engagement Pictures - Photo by Josh Jones

Monday, November 10, 2008

10 Tips for Night Photography

Night photography is one of the most unique, challenging, and rewarding types of photography in the world. Recent cameras have the ability to capture stunning night landscapes in virtually no light. Shooting in the middle of the night is not quite as simple as picking up your camera and pressing the shutter button, there are many factors that need to be taken into account. In daylight there is much more light available to your camera sensor and its very easy to take for granted all the things your camera automatically does. If you have difficulty taking images at night, or have had experience shooting at night and would like to improve your images, here are my top 10 tips for night photography.


Battle Axe - Photo by Josh Jones
A slow shutter speed adds a sense of motion to the rides


1) Use a tripod - I know, I know, it’s a pain to carry around. Even a lightweight tripod can provide dramatically sharper images at night. Since there is much less light in the scene, a longer shutter speed is required. Often this is not possible to handhold. A tripod allows you to use long shutter speeds without the worry of blurry images. As a bonus, some tripods have bubble meters on them to ensure that you have an even horizon. Carrying around a tripod can be a pain at times, so if you totally insist on not using a tripod, look for things to put your camera on such as railings, trash cans, and other flat objects that can stabilize your camera.
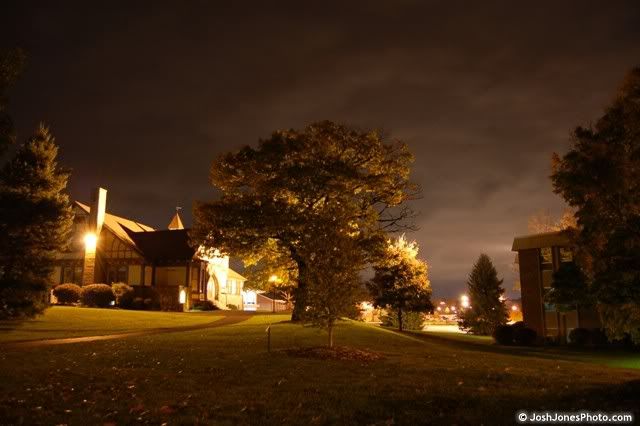

Midnight View - Photo by Josh Jones
Overcast skies provide for an interesting sky at night


2) Use a long shutter speed - To experienced photographers this is an obvious, but very important setting. If your camera doesn't have a mode on it where you can adjust the shutter speed, see if you can increase the exposure compensation to force the camera to take in more light (generally the camera will use a longer shutter speed for you). Since light meters are often inaccurate at night, you may need to do some manual adjustments to your shutter speed to reach your desired result. By using a long shutter speed you also introduce the effect of motion in your images. Experiment using long shutter speeds on moving objects such as cars that leave light trails as they speed down the road.


Speed - Photo by Josh Jones
A 30 second exposure captures the motion of the cars


3) Use a low ISO - Since you’re using a tripod, you don't have to worry about camera shake anymore. Your shutter can stay open as long as necessary. Most cameras have the option to adjust the sensitivity of the image sensor (ISO). By turning the sensitivity down, you reduce the amount of noise that the camera will introduce into your image. This is especially important when using long shutter speeds as the noise builds up the longer the sensor is capturing image data. Using an ISO such as 100 or 200 will provide detailed, clean images.
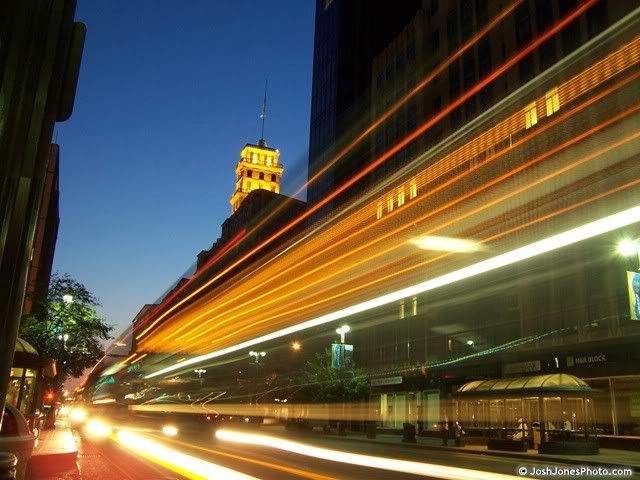

Going my way? - Photo by Josh Jones
Shooting just after sunset gives a deep blue sky


4) Use a wide angle lens - In night landscape photography it’s important to capture all the interesting types of lighting that are present. By using a wide angle lens you accomplish three important things. First, you can include both the main subject as well as the details in the foreground and sky. Second, you usually end up including several different types of light such as sodium vapor lamps, moon light, and incandescent street lights. All these types of light have different color temperatures and can add an interesting color contrast to your picture. Thirdly, using a wide angle lens minimizes many focusing issues because the construction of short focal length lenses yields a large depth of field. Have interesting night photos been taken with telephoto lenses? Sure they have! Look though some of your favorite night landscape images and I bet you that many of them will be taken with wide, or ultra wide angle lenses.
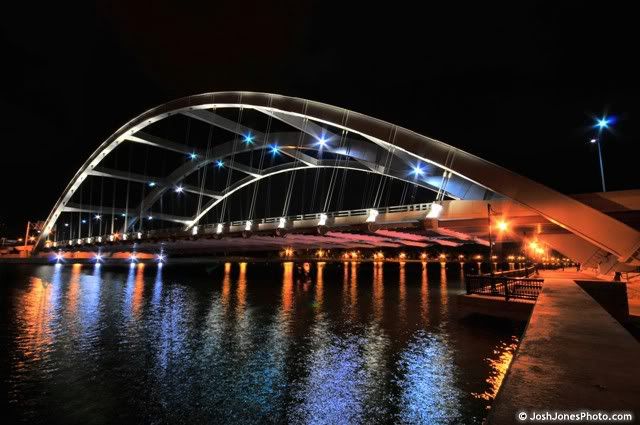

New Bridge - Photo by Josh Jones
A wide angle lens adds to the perspective


5) Stop down that aperture - Stopping down the aperture of your camera gives many benefits in night photography. First, it helps to minimize any focusing errors because your depth of field is larger (especially when combined with a wide angle lens). Second, it usually brings your lens into the range where it is most sharp (usually 1-2 stops past wide open). Thirdly, by using a small aperture such as f/10 or f/14, you may notice that stars appear around the light sources. This is only of my favorite effects in night photography. The number of points on the starbursts is determined by your lens construction. Lenses with more blades on their aperture give starbursts with more points. In addition, using a smaller aperture allows you to use longer shutter speeds that build more motion into your image.
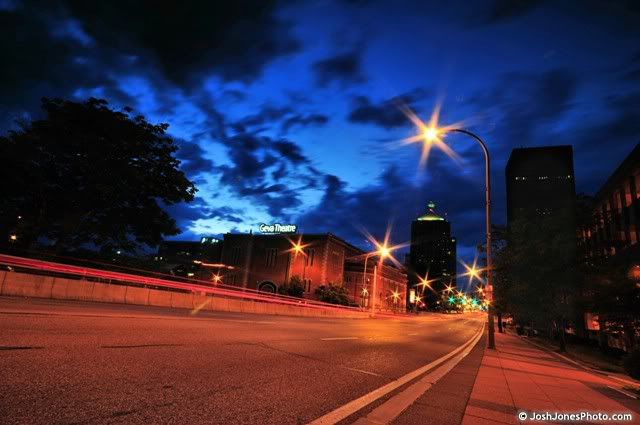

Nightlife - Photo by Josh Jones
Starbursts add an interesting touch to this image


6) Use self timer or mirror up mode - I lied a bit when I told you that tripods totally get rid of all camera shake. The act of pressing the shutter down and taking your hand off the camera creates camera shake as well. The mirror slapping up into position on SLR cameras can also create camera shake. Thankfully, you can get around these issues in several ways. The simplest way is to use the self timer, by doing this you ensure that you will have no effect on the camera shaking because any shake you caused will be gone before the camera fires. Another way is to use a mirror up mode, or exposure delay mode that delays the mirror activation and lessens the likelihood of its motion softening your image. Another great way to rid camera shake is to use a cable release. Some cameras have available infrared shutter remotes, which are generally fairly cheap and effective. Some cameras can accept cable releases that do the same task. Here is a money saving tip, don't waste your money on the expensive cable releases made by your camera manufacturer, the cheap 3rd party ones work great!


Living Water - Photo by Josh Jones
The contrasting foreground, midground, and background elements add to this composition.


7) Control your auto focus - Sometimes it is tough to get your camera to autofocus at night. If you have selectable autofocus points, I'd recommend placing one directly over a light source. The light source gives a place for your autofocus system to detect contrast in the scene, and set the focus correctly. If your lens has manual focus capabilities, positioning it at infinity works in most landscape images.
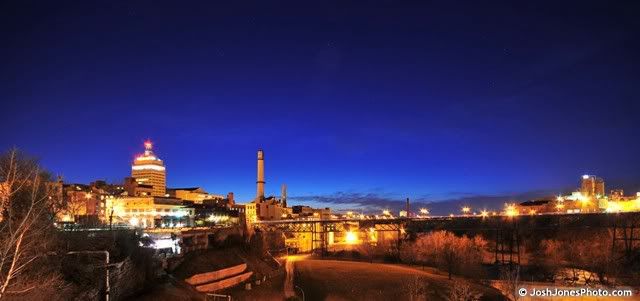

River Valley - Photo by Josh Jones
The contrasting blue and gold colors make this landscape interesting


8) White balance is your friend - Getting the colors right in night pictures can often be difficult. I usually use an incandescent white balance to ensure my picture doesn't look like someone spilled yellow dye all over it. Street lamps at night usually have a yellow tint to them that can spoil your image. Another option to fix this problem is to set a custom white balance. Take a picture of something that should be color neutral. If you have a white card, sheet of paper, or white or gray shirt laying around then you have a perfect object to take your white balance reference picture off. Sometimes it's not always possible to get exactly the right colors when you're out shooting. By shooting in RAW the image you capture still maintains all the white balance information and allows you to manipulate it later. I usually set a custom white balance as I'd rather nail the shot when I'm out shooting rather than spending time behind the computer fixing it later.
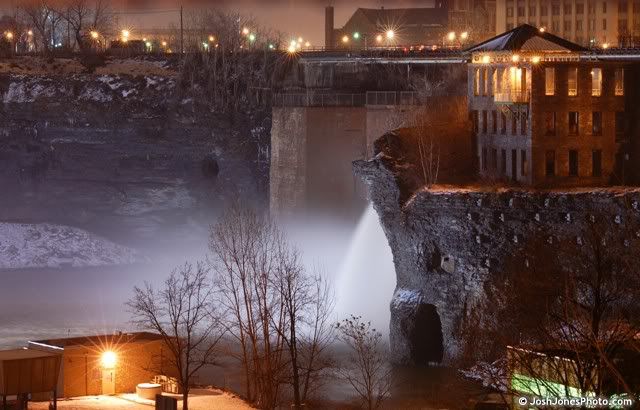

High Falls at Night - Photo by Josh Jones
This image was taken with a zoom lens to compress the scene


9) Try different angles - Try getting really close up to the things you are shooting, or placing interesting things in the foreground. Because you’re using a tripod means that it is going to be very tempting to shoot things at eye-level. Unfortunately, this is usually the most boring perspective you can shoot from. Try retracting the legs on your tripod so you’re shooting from only a foot or two off the ground. Try getting on top of something tall and shooting from a very high perspective.
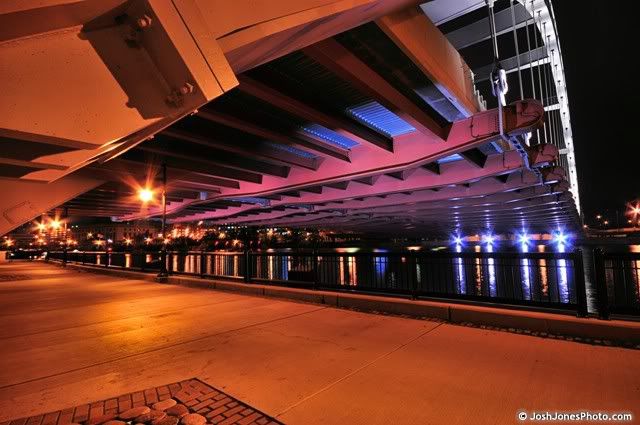

Under the bridge - Photo by Josh Jones
Getting below this bridge shows a unique angle


10) Shoot during the right time of night - Shooting during the golden hour can give you some incredible results. Instead of having a dull black sky, by shooting just after sunset, you will be rewarded with a rich blue sky. The deep cool sky makes for a really interesting color contrast with the yellow hue of street lamps or fall trees. Another great time to shoot is when it is slightly windy with partly cloudy skies. The wind pushes the clouds across the sky as the image is being exposed and creates interesting streaks across the sky of your image. Experimenting with ultra long exposures (5+ minutes) on clear skies can also show the motion of the stars in the sky.
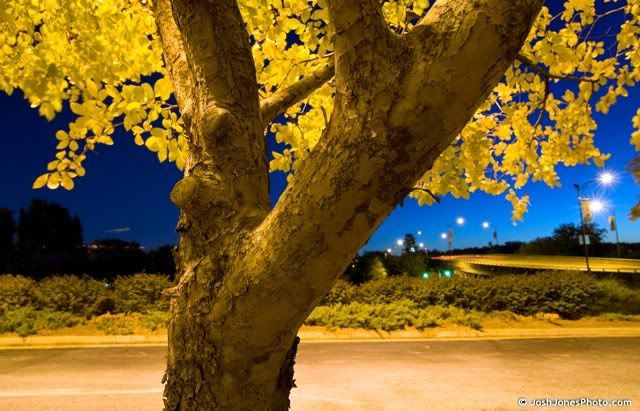


Yellow and Gold - Photo by Josh Jones
The blue sky contrasts against the fall colors of the tree


I hope these 10 tips can help you out. A lot of great images can be made by experimenting with your own settings and equipment. Don't expect to master it all in one night. I've been shooting night images for many years and I can tell you first hand that this type of photography is a constant learning experience but can provide you with some absolutely stunning images. Your creativity is the limit, get out there tonight and shoot!
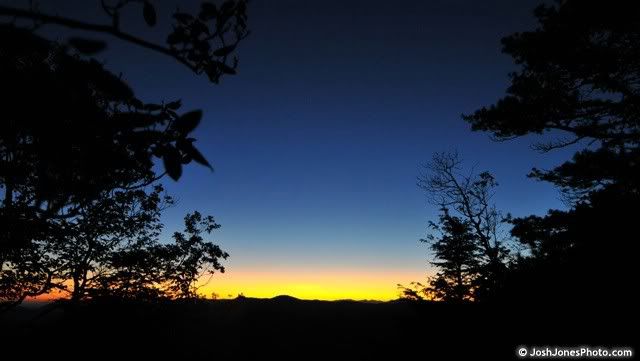

Yellow and Gold - Photo by Josh Jones